Tips For Opening Your Pool for the First Time This Season
Editors Note:At CCWHQ we may earn a commission from partner links, we are a amazon associate
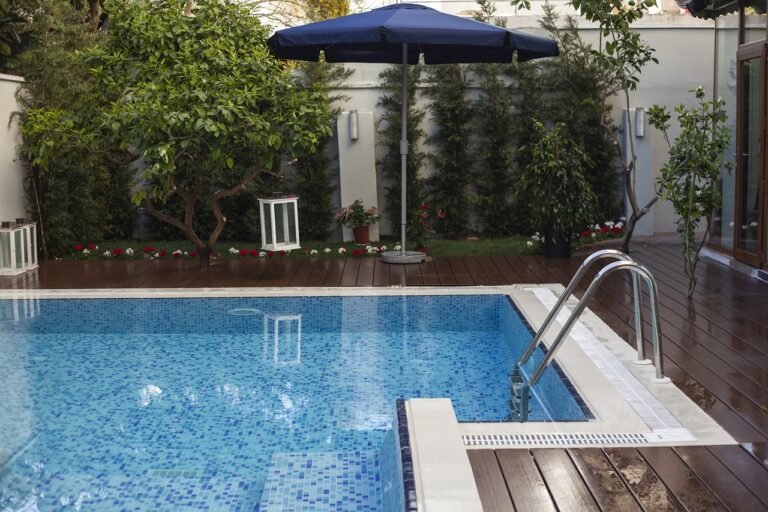
Opening Your Pool for the First Time This Season
As the temperatures rise, it’s time to welcome the long-awaited pool opening season! Whether you’re a seasoned pool owner or a first-timer, it’s important to follow the right steps to get your inground pool ready for swimming. Starting early and being proactive can save you time, money, and trouble later on. Let’s take a closer look at how to open your swimming pool.
Key Takeaways:
- Prepping your pool for the summer season is essential for a clean and enjoyable swimming experience.
- Following a step-by-step process will help ensure that your pool is properly opened and ready for use.
- Regular maintenance and monitoring of pool water chemistry throughout the summer are necessary for a safe and healthy swimming environment.
- Shocking your pool water and balancing the chemicals are vital steps in maintaining the quality of your pool water.
- Enjoy a summer-ready pool by following the recommended pool opening steps and maintaining proper pool maintenance routines.
Step 1 - Remove, Clean, and Store Your Pool Cover
As you prepare to open your pool for the season, the first step is to remove, clean, and store your pool cover. This crucial task helps maintain the cleanliness and longevity of your cover, ensuring its effectiveness for future use.
Removing the pool cover is a straightforward process. Begin by carefully folding back a section of the cover, exposing the surface of the water. Gradually work your way around the pool, folding and rolling the cover as you go. This method prevents any debris from falling into the water during removal. Remember to enlist the help of a friend or family member for larger covers to make the process easier and more efficient.
Once the cover is off, it’s time to clean it thoroughly. Use a soft brush or broom to remove any leaves, twigs, or other debris that may have accumulated on the cover over the winter months. For stubborn stains or dirt, consider using a mild soap solution or a dedicated pool cover cleaner. Be sure to rinse the cover thoroughly with water after cleaning to remove any residue.
Pro tip: Before cleaning the cover, check the manufacturer’s instructions for any specific cleaning recommendations or restrictions to ensure you don’t inadvertently damage the material.
Once the cover is clean and dry, it’s time to store it properly. Find a cool, dry place to keep the cover during the swimming season. Avoid areas of high humidity or direct sunlight, as these can contribute to mold or material deterioration. A storage bin or a designated cover bag can provide added protection and keep your cover organized until it’s time to use it again.
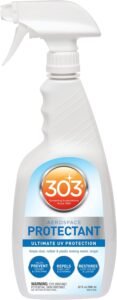
These Products can help with Step 1
Step 2 - Fill Your Pool Up
Now that you have successfully removed the pool cover, it’s time to fill your pool up with water. Start by ensuring that the water level reaches midway up the skimmer openings and the tile line. This will provide the optimal pool surface for swimming.
Throughout the week, regularly check the water level and add more water as necessary to maintain the correct level. It’s important to keep the pool adequately filled to ensure proper filtration and circulation.
If you have an auto-fill system, take a moment to inspect it and make sure it’s in good working condition. The auto-fill system will help maintain the water level consistently, ensuring your pool is always ready for a refreshing swim.
Step 3 - Clean and Vacuum Your Pool
Now that your pool is filled with crystal-clear water, it’s time to give it a thorough cleaning. By using a pool vacuum, you can easily remove any debris that may have accumulated during the pool’s idle period, ensuring that your pool is clean and ready for swimming.
Regularly cleaning and vacuuming your pool not only improves its appearance but also enhances water circulation and prevents the growth of algae and bacteria. It’s an essential step in maintaining a clean and healthy swimming environment for you and your family.
Removing Debris with a Pool Vacuum
Pool vacuums come in various types, including manual, automatic, and robotic options. Choosing the right one depends on the size and design of your pool, as well as your personal preference.
Manual pool vacuums are operated by attaching them to a pool skimmer or dedicated vacuum line. By manually maneuvering the vacuum head across the pool’s surface and walls, you can effectively remove debris and sediment.
Automatic pool vacuums are designed to clean your pool without your direct involvement. These devices move around the pool on their own, collecting debris into a filter or bag. Some automatic vacuums even have advanced features like programmable cleaning cycles and remote controls.
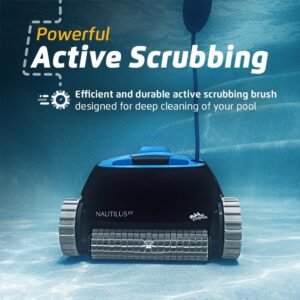
Robotic pool vacuums are fully independent and do not require a connection to your pool’s filtration system. These high-tech devices have their own motor, filter, and power supply. They navigate the pool using intelligent algorithms and sensors, ensuring comprehensive cleaning coverage.
Tips for Effective Pool Cleaning
To maximize the effectiveness of your pool vacuum, keep the following tips in mind:
- Regular maintenance: Clean or replace the vacuum’s filter regularly to maintain optimal suction power and debris collection.
- Check for blockages: Occasionally inspect the vacuum’s hoses and head for any obstructions that may hinder its performance.
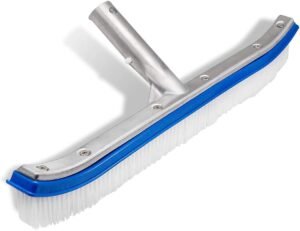
- Brush the pool surfaces: Before vacuuming, use a pool brush to loosen and remove any stubborn dirt or algae from the pool’s walls and floor.
- Vary vacuuming patterns: To ensure thorough cleaning, change the direction and path of the vacuum each time you clean the pool.
- Clean the skimmer baskets: Clear any debris from the skimmer baskets to prevent clogs and ensure optimal water flow.
By following these tips and regularly cleaning your pool with a vacuum, you can enjoy a sparkling clean swimming pool all season long. So, get your pool vacuum ready and let it do the work while you relax and make a splash!
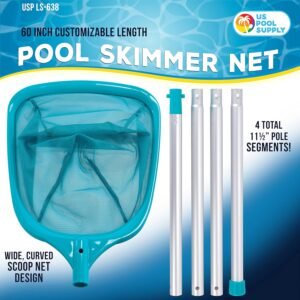
The Links Below are Products to Help clean your pool
Step 4 - Inspect and Clean Your Pool Filter
As you prepare to open your pool for the season, it’s crucial to pay attention to your pool filter. A clean and well-maintained filter is essential for keeping your pool water clear and healthy.
Here are some important steps to follow when inspecting and cleaning your pool filter:
- Check the media cartridges or grids: Carefully inspect the cartridges or grids in your filter for any cracks or holes. Damaged media can compromise the effectiveness of your filter. If you notice any issues, it’s important to replace them promptly to ensure proper filtration.
- Change the sand in a sand filter if needed: For those with a sand filter, it’s important to periodically assess the condition of the sand. Over time, the sand can become clogged or worn out, reducing its ability to filter effectively. If the sand appears dirty or damaged, it’s time for a replacement.
- Add new D.E. (diatomaceous earth): For pool filters that use D.E., consider adding fresh diatomaceous earth to enhance filtration efficiency. D.E. acts as a fine powder that captures smaller particles, ensuring cleaner pool water.
- Inspect all O-rings: Take a moment to inspect the O-rings on your filter for any signs of wear or damage. These rubber seals play a crucial role in creating a tight seal and preventing leaks. If you notice any issues, replace the O-rings to keep your filter functioning properly.
- Ensure the filter gauge is working properly: The filter gauge provides important information about the pressure within your filter system. Make sure the gauge is accurate and functioning correctly. If it’s not, consider replacing it to ensure accurate readings and filter maintenance.
Regularly inspecting and cleaning your pool filter is an essential part of pool maintenance. By keeping your filter in optimal condition, you’ll enjoy cleaner, clearer water throughout the swimming season.
| Pool Filter Type | Maintenance Steps |
|---|---|
| Cartridge Filter | – Check cartridges for cracks or holes – Clean cartridges regularly – Replace cartridges as needed |
| Sand Filter | – Check sand condition – Backwash the filter regularly – Replace sand as needed |
| D.E. Filter | – Check D.E. powder levels – Add new D.E. as necessary – Clean the filter grids or fingers annually |
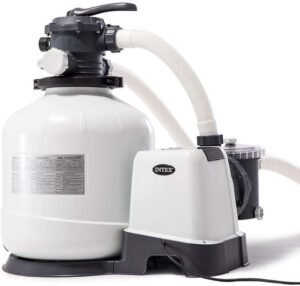
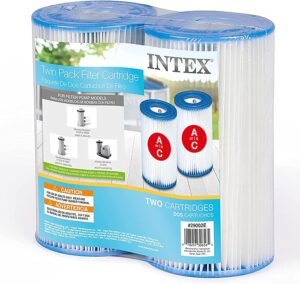
The Links Below Are Filters For Your Pool
Step 5 - Reinstall Plugs
Ensuring a Secure Seal for Your Pool Equipment
Now that you’ve gone through the process of uncovering and preparing your pool for the season, it’s time to reinstall the plugs that were removed during winterization. These plugs play a crucial role in maintaining the integrity of your pool equipment and preventing any potential leaks or drips. Follow these steps to reinstall the plugs:
- Winterizing Plugs: Begin by replacing all the winterizing plugs that were removed when preparing your pool for the colder months. These plugs are specifically designed to withstand the winter conditions and protect your equipment from potential damage. Ensure that each plug is securely tightened to avoid any air leaks or water seepage.
- Drain Plugs: Next, reinstall the drain plugs for your pump, heater, and filter. These drain plugsprovide a barrier against water leakage and maintain the proper functioning of your equipment. Make sure to inspect each drain plug for any signs of wear or damage before reinstalling. Apply Teflon tape or a thread sealant to create a tight seal and prevent air leaks or filter drips.
By reinstalling these plugs, you can ensure your pool equipment is properly sealed and protected. This step is essential for maintaining the efficiency and longevity of your pool system.
Here’s a table summarizing the plugs you need to reinstall:
| Pool Equipment | Plugs |
|---|---|
| Pump | Drain Plug |
| Heater | Drain Plug |
| Filter | Drain Plug |
Step 6 - Prep and Test Your Pool Pump and Filter
Before getting your pool equipment up and running for the season, it’s essential to take a few steps to ensure everything is in proper working order. Follow these guidelines to prep and test your pool pump and filter:
Add Water to the Suction Lines
To eliminate any air pockets in the suction lines, it’s crucial to add water before turning on your pool equipment. This will help prevent any potential damage and ensure optimal performance.
Inspect the Controller and Set Correct Time and Programs
Take a moment to inspect the controller of your pool pump. Confirm that all settings are correct, including the time and any programmed schedules. This will help ensure that your pool operates efficiently.
Check for Leaks in the Equipment Area
One important step in preparing your pool pump and filter is to inspect the equipment area for any signs of leaks. Look for any visible cracks or water seepage that could indicate a problem. Addressing these issues early can prevent further damage and costly repairs.
Clean Out Debris in the Lines
Over time, debris like leaves, twigs, and dirt can accumulate in the lines of your pool pump and filter. Before starting your pool equipment, take the time to clean out any debris that may have collected. This will help ensure proper water circulation and prevent clogs or damage to your system.
By properly prepping and testing your pool pump and filter, you can ensure your pool is ready for a season of swimming enjoyment. Taking these steps will help maintain the efficiency and longevity of your pool equipment, providing you with a clean and healthy swimming environment.
Step 7 - Test and Balance Your Pool Water
Test Pool Water Levels: Use a pool testing kit to test the pH, chlorine, alkalinity, and calcium levels in your pool water. These levels play a key role in maintaining water quality and preventing any issues that may arise from imbalances.
- pH Levels: The pH level indicates the acidity or alkalinity of your pool water. The ideal pH range for a swimming pool is between 7.2 and 7.6. If the pH level is too high or too low, it can result in discomfort while swimming, eye and skin irritation, or even damage to pool equipment.
- Chlorine Levels: Chlorine is crucial for sanitizing your pool water and preventing the growth of bacteria and algae. Test the chlorine levels to ensure they are within the recommended range of 1.0 – 3.0 ppm. Proper chlorine levels keep your pool safe and free from harmful contaminants.
- Alkalinity Levels: Alkalinity acts as a buffer, helping to stabilize the pH levels in your pool. The ideal alkalinity range is 80 – 120 ppm. Maintaining proper alkalinity levels ensures that the pH level remains within the desired range, preventing fluctuations that can affect water balance.
- Calcium Levels: The calcium level in your pool water contributes to water hardness. The recommended calcium hardness range is 200 – 400 ppm. Insufficient calcium levels can lead to water corrosion, while excessive calcium can cause scaling and cloudy water.
Adjust Pool Water Levels: Based on the results of your pool water test, you may need to make adjustments to balance the water chemistry. Follow the instructions on your pool testing kit or consult a pool professional to determine the appropriate chemicals and quantities needed to bring your pool water into balance.
Remember, properly balanced pool water is crucial for maintaining a healthy swimming environment. By regularly testing and adjusting the pH, chlorine, alkalinity, and calcium levels, you can ensure that your pool water is safe, comfortable, and ready for swimming.
| Pool Water Level | Ideal Range |
|---|---|
| pH | 7.2 – 7.6 |
| Chlorine | 1.0 – 3.0 ppm |
| Alkalinity | 80 – 120 ppm |
| Calcium | 200 – 400 ppm |
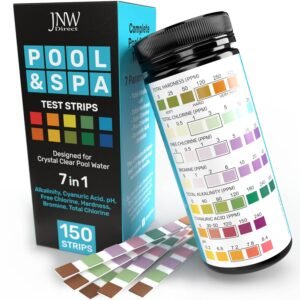
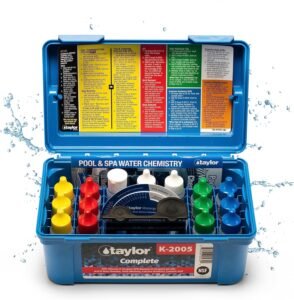
The Links below are test kits for your pool
Step 8 - Shock Your Pool Water
Shocking your pool water is a crucial step in the pool opening process. It helps eliminate any bacteria and algae that may have accumulated during the winter months. Before shocking, it’s essential to brush the walls and flow of your pool to remove any debris that may interfere with the shock’s effectiveness.
When selecting a pool shock product, be sure to follow the instructions provided by the manufacturer. Different products may have specific dosage recommendations and application methods. It’s important to use the correct amount of shock to ensure the best results.
Once you have added the shock to your pool, it’s important to wait the recommended amount of time before swimming. This allows the shock to fully disinfect the water and ensures that it’s safe for you and your family to enjoy.
In addition to killing bacteria and algae, pool shock also helps maintain the proper chlorine levels in your pool. By regularly shocking your pool water, you can ensure that it remains disinfected and free from harmful microorganisms.
Remember to always store your pool shock products safely and out of reach of children. Follow proper safety precautions when handling any pool chemicals.
Conclusion
Congratulations! You have successfully completed the pool opening process and your pool is now summer-ready. By following these steps, you have ensured that your pool is clean, balanced, and safe for swimming. Now, it’s time to enjoy the pool season and make the most of the sunny days ahead.
Throughout the summer, make sure to regularly monitor your pool chemistry levels to maintain a healthy swimming environment. Test the pH, chlorine, alkalinity, and calcium levels and make any necessary adjustments. This will ensure that your pool water remains crystal clear and comfortable for everyone.
With your pool open and well-maintained, it’s time to invite friends and family over for some fun in the sun. Create lasting memories, host pool parties, and relax by the poolside. Embrace the joy of summer and bask in the refreshing waters of your own backyard oasis.
FAQ
Can I leave my pool cover on during the pool opening process?
No, it is important to remove the pool cover, clean it, and store it securely before opening your pool.
How do I fill my pool up to the correct water level?
Fill your pool’s water surface level to midway up the skimmer openings and tile line.
How can I clean my pool before opening it for the season?
Use a pool vacuum to remove any debris that may have accumulated when your pool wasn’t in use.
What should I do to check and clean my pool filter?
Check the media cartridges or grids for cracks or holes, change sand if necessary, and inspect all O-rings. Also, ensure the filter gauge is working properly.
How do I reinstall the necessary plugs for my pool?
Replace all winterizing plugs and reinstall drain plugs for the pump, heater, and filter. Use Teflon tape or another thread sealant for proper sealing.
How should I prepare and test my pool pump and filter?
Add water to the suction lines to eliminate any air, inspect the controller and set the correct time and programs, check for leaks in the equipment area, and clean out debris in the lines.
What can I do to ensure my pool water is safe and balanced?
Use a pool testing kit to check the pH, chlorine, alkalinity, and calcium levels in your pool. Adjust the levels as needed to maintain a healthy swimming environment.
Why is it important to shock my pool water?
Shocking your pool is crucial to kill bacteria and algae that may have accumulated during the winter months. It helps to maintain clean and disinfect the pool water.
What should I do to enjoy a summer-ready pool?
Follow the steps mentioned earlier, regularly monitor your pool chemistry levels, and enjoy a clean and comfortable swimming season.
